Blogs
How to Paint Wood Near You 12:37 PM 10.04.2025
How to Paint Wood Near You
Depending on your style and your design goals for your space, painting wood surfaces can be a great way to add light or breathe new life into your space, whether you’re updating cabinets, refinishing furniture, or giving your trim a fresh, new look.
To achieve a smooth, long-lasting paint finish for your wood surface, you need the right products, techniques, and a little patience. At Columbia Paint & Wallcover, we carry high-quality Benjamin Moore paint and supplies from top brands to ensure your project turns out perfectly. In this guide, we will walk you through how to paint wood like a pro.
Whether you’re tackling an indoor or outdoor project in Columbia, TN, Spring Hill, or any of the surrounding areas—including Thompson’s Station, Boston, Bethesda, Burwood, Lawrenceburg, Westside, and Deerfield, TN—we’ve got you covered.
Step 1: Prepare Your Surface
Start by cleaning the wood surface you want to paint to remove dirt, grease, or grime.
Next, inspect the wood for damage. Cracks, holes, or dents should be filled with wood filler. Once the filler has dried, sand the surface using medium-and fine-grit sandpaper (starting with medium 100-150 grit and ending at fine 180-220 grip) to smooth out imperfections and remove old finishes.
After sanding, clean the dust thoroughly using a tack cloth or a damp rag. This will help the paint adhere better and prevent bumps or texture issues.
Step 2: Prime the Wood with Latex Primer
Priming is essential for creating a smooth base, especially when painting bare or stained wood. Priming helps the paint adhere and provides a uniform color. Choose a high-quality primer suitable for wood, such as Benjamin Moore’s paint primers. A good rule of thumb: go for a latex primer under an alkyd paint.
Apply the primer in an even fashion using a brush or roller, working with the grain of the wood. Allow the primer to dry, following the manufacturer’s instructions. Once dry, lightly sand the primed surface with fine-grit sandpaper (220 grit) and wipe away dust.
Step 3: Use the Paint Calculator
One of the mistakes DIY painters make is either buying too much or too little paint. To avoid this, use our paint calculator to determine the exact amount of paint needed for your project.
At Columbia Paint & Wallcover, our team can also help you use the calculator and ensure you have the right amount of Benjamin Moore wood paint for your specific job.
Step 4: Choose the Right Alkyd Paint for Wood
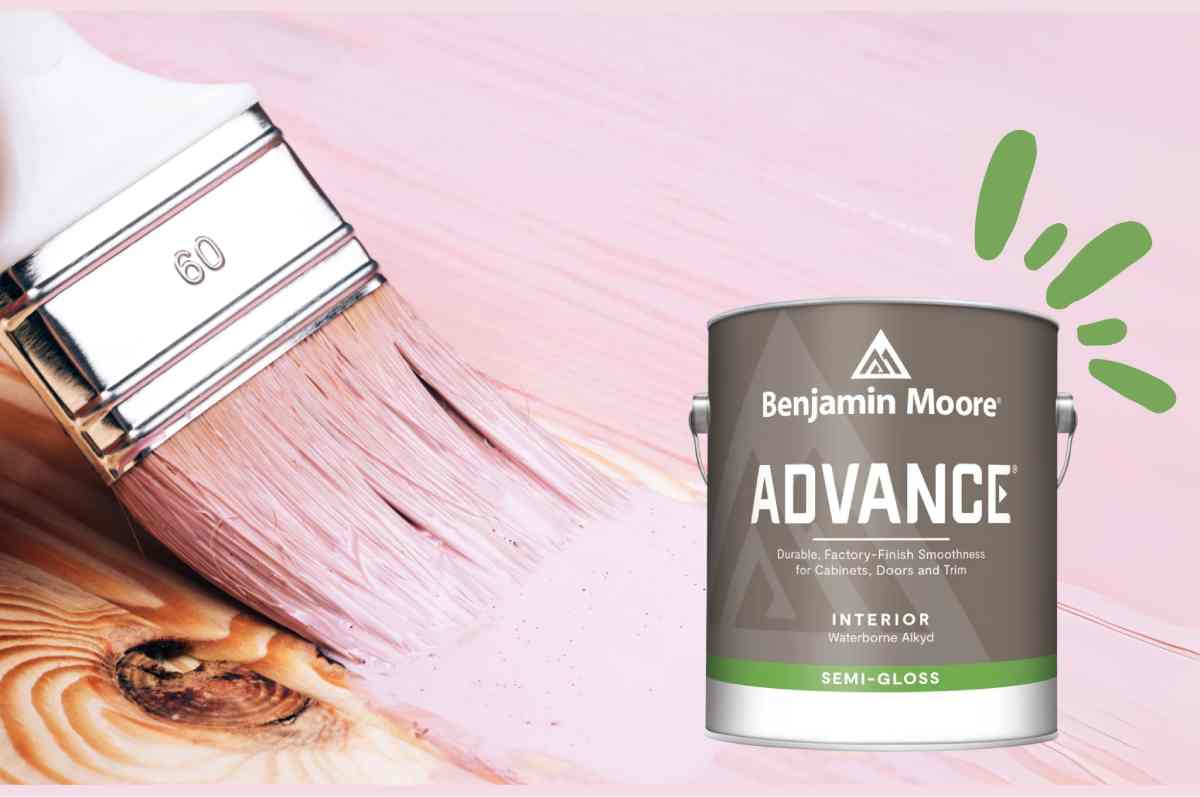
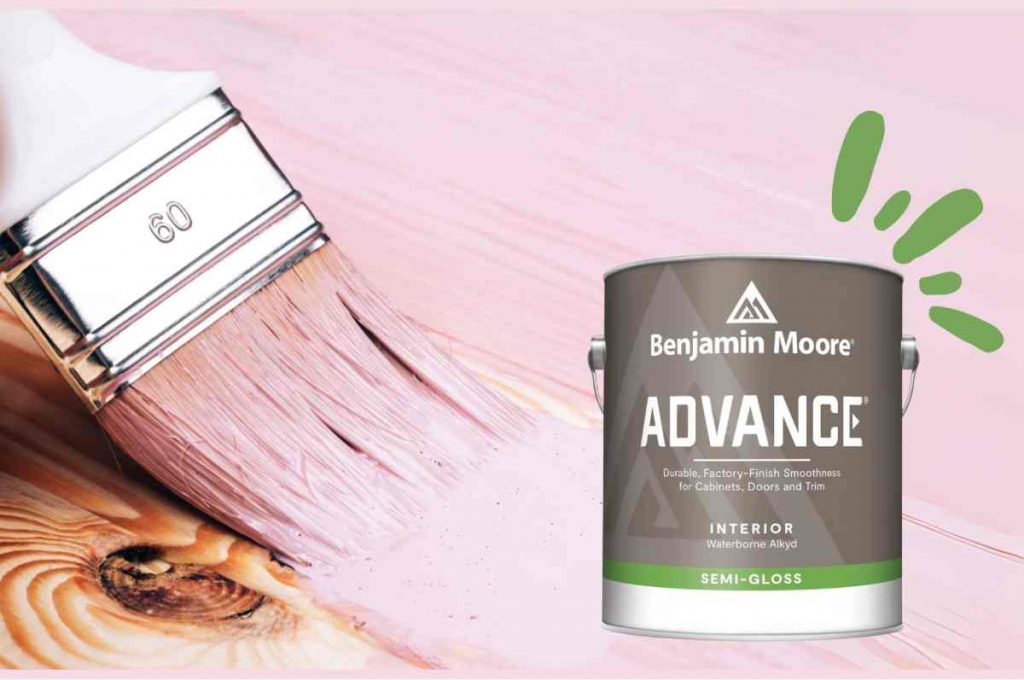
Choose a high-quality Benjamin Moore wood paint designed for durability and a smooth finish for the best results. Popular options include Advance® Interior Paint, which is an alkyd paint that does not require a topcoat like other wood paints, or Aura® Exterior Paint for outdoor wood projects.
If you’re unsure which product to choose, visit Columbia Paint & Wallcover for assistance.
Step 5: Apply Your Paint
Using a quality brush, paint roller, or sprayer (you must dilute the paint by around 20% to start), apply thin, even coats of paint. Avoid overloading your brush or roller, as thick layers can lead to drips or uneven coverage.
Make sure the first coat is dry before you apply a second coat. This may take half a day. Depending on the color and type of wood, you may need two to three coats to achieve a good finish.
Step 6: Finishing Touches
Once your final coat is dry, inspect your work for any touch-ups. Once complete, if necessary, consider applying a protective topcoat, especially for high-traffic areas or outdoor wood surfaces.
Pro Tip: Benjamin Advance® Interior Paint does not require a top coat.
Get Started Today with Benjamin Moore Wood Paint
For more tips and quality paints, contact Columbia Paint & Wallcover today! Located in Columbia and Spring Hill, Tennessee, we are your go-to destination for custom window treatments, Benjamin Moore paint, and hardware supplies for any project—big or small.
We proudly serve Columbia, Spring Hill, Thompson’s Station, Boston, Bethesda, Burwood, Lawrenceburg, Westside, and Deerfield, TN.

